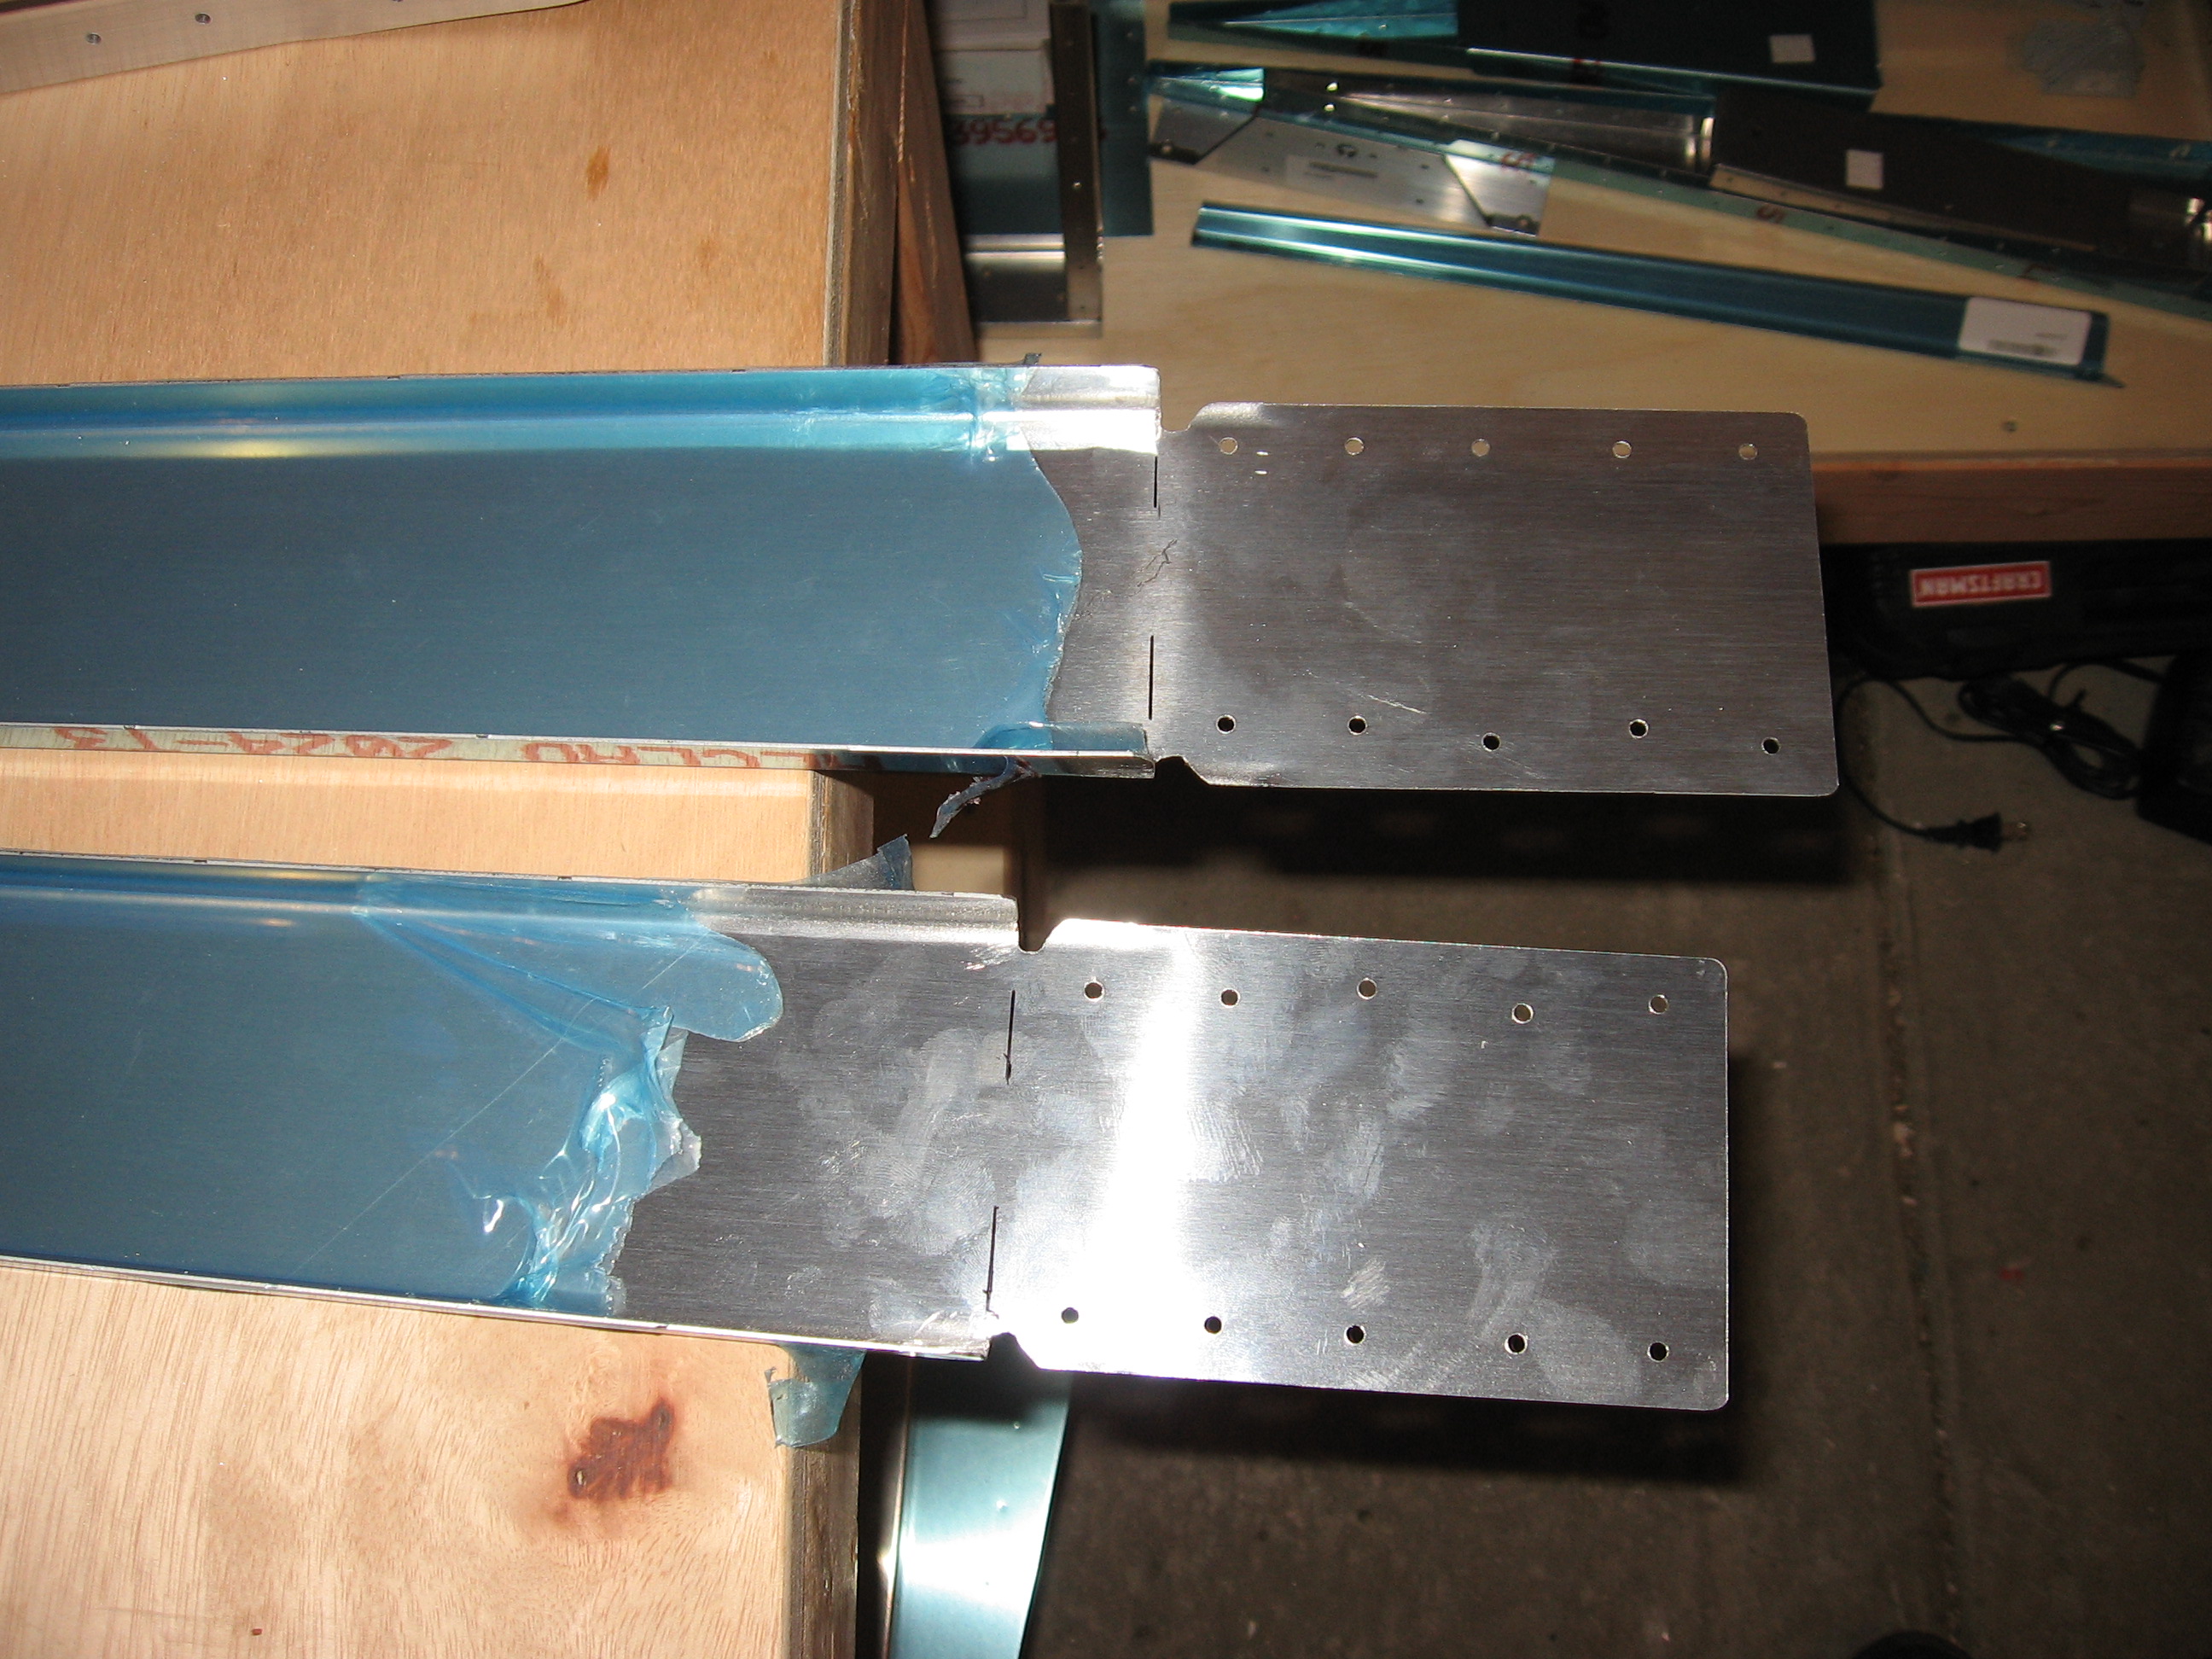
The front spar was designed so that it could also be used on the RV-8; however, when used on the RV-7, the tab needs to be “enlarged” for one extra hole. This is done by trimming the flange back. Here, I learned my first valuable lesson. Be very careful bending metal. I notched the flange and then bent them down to cut them. I really should have just cut them. I thought bending them down would make it easer; however bending it, I noticed small cracks in the bend radius where the flange meets the web. Luckily, you drill a hole (for bending relief) where the tiny cracks were so it was no biggie. You have to bend the tab back 6 degrees (to match the angle reinforcement bends done earlier).
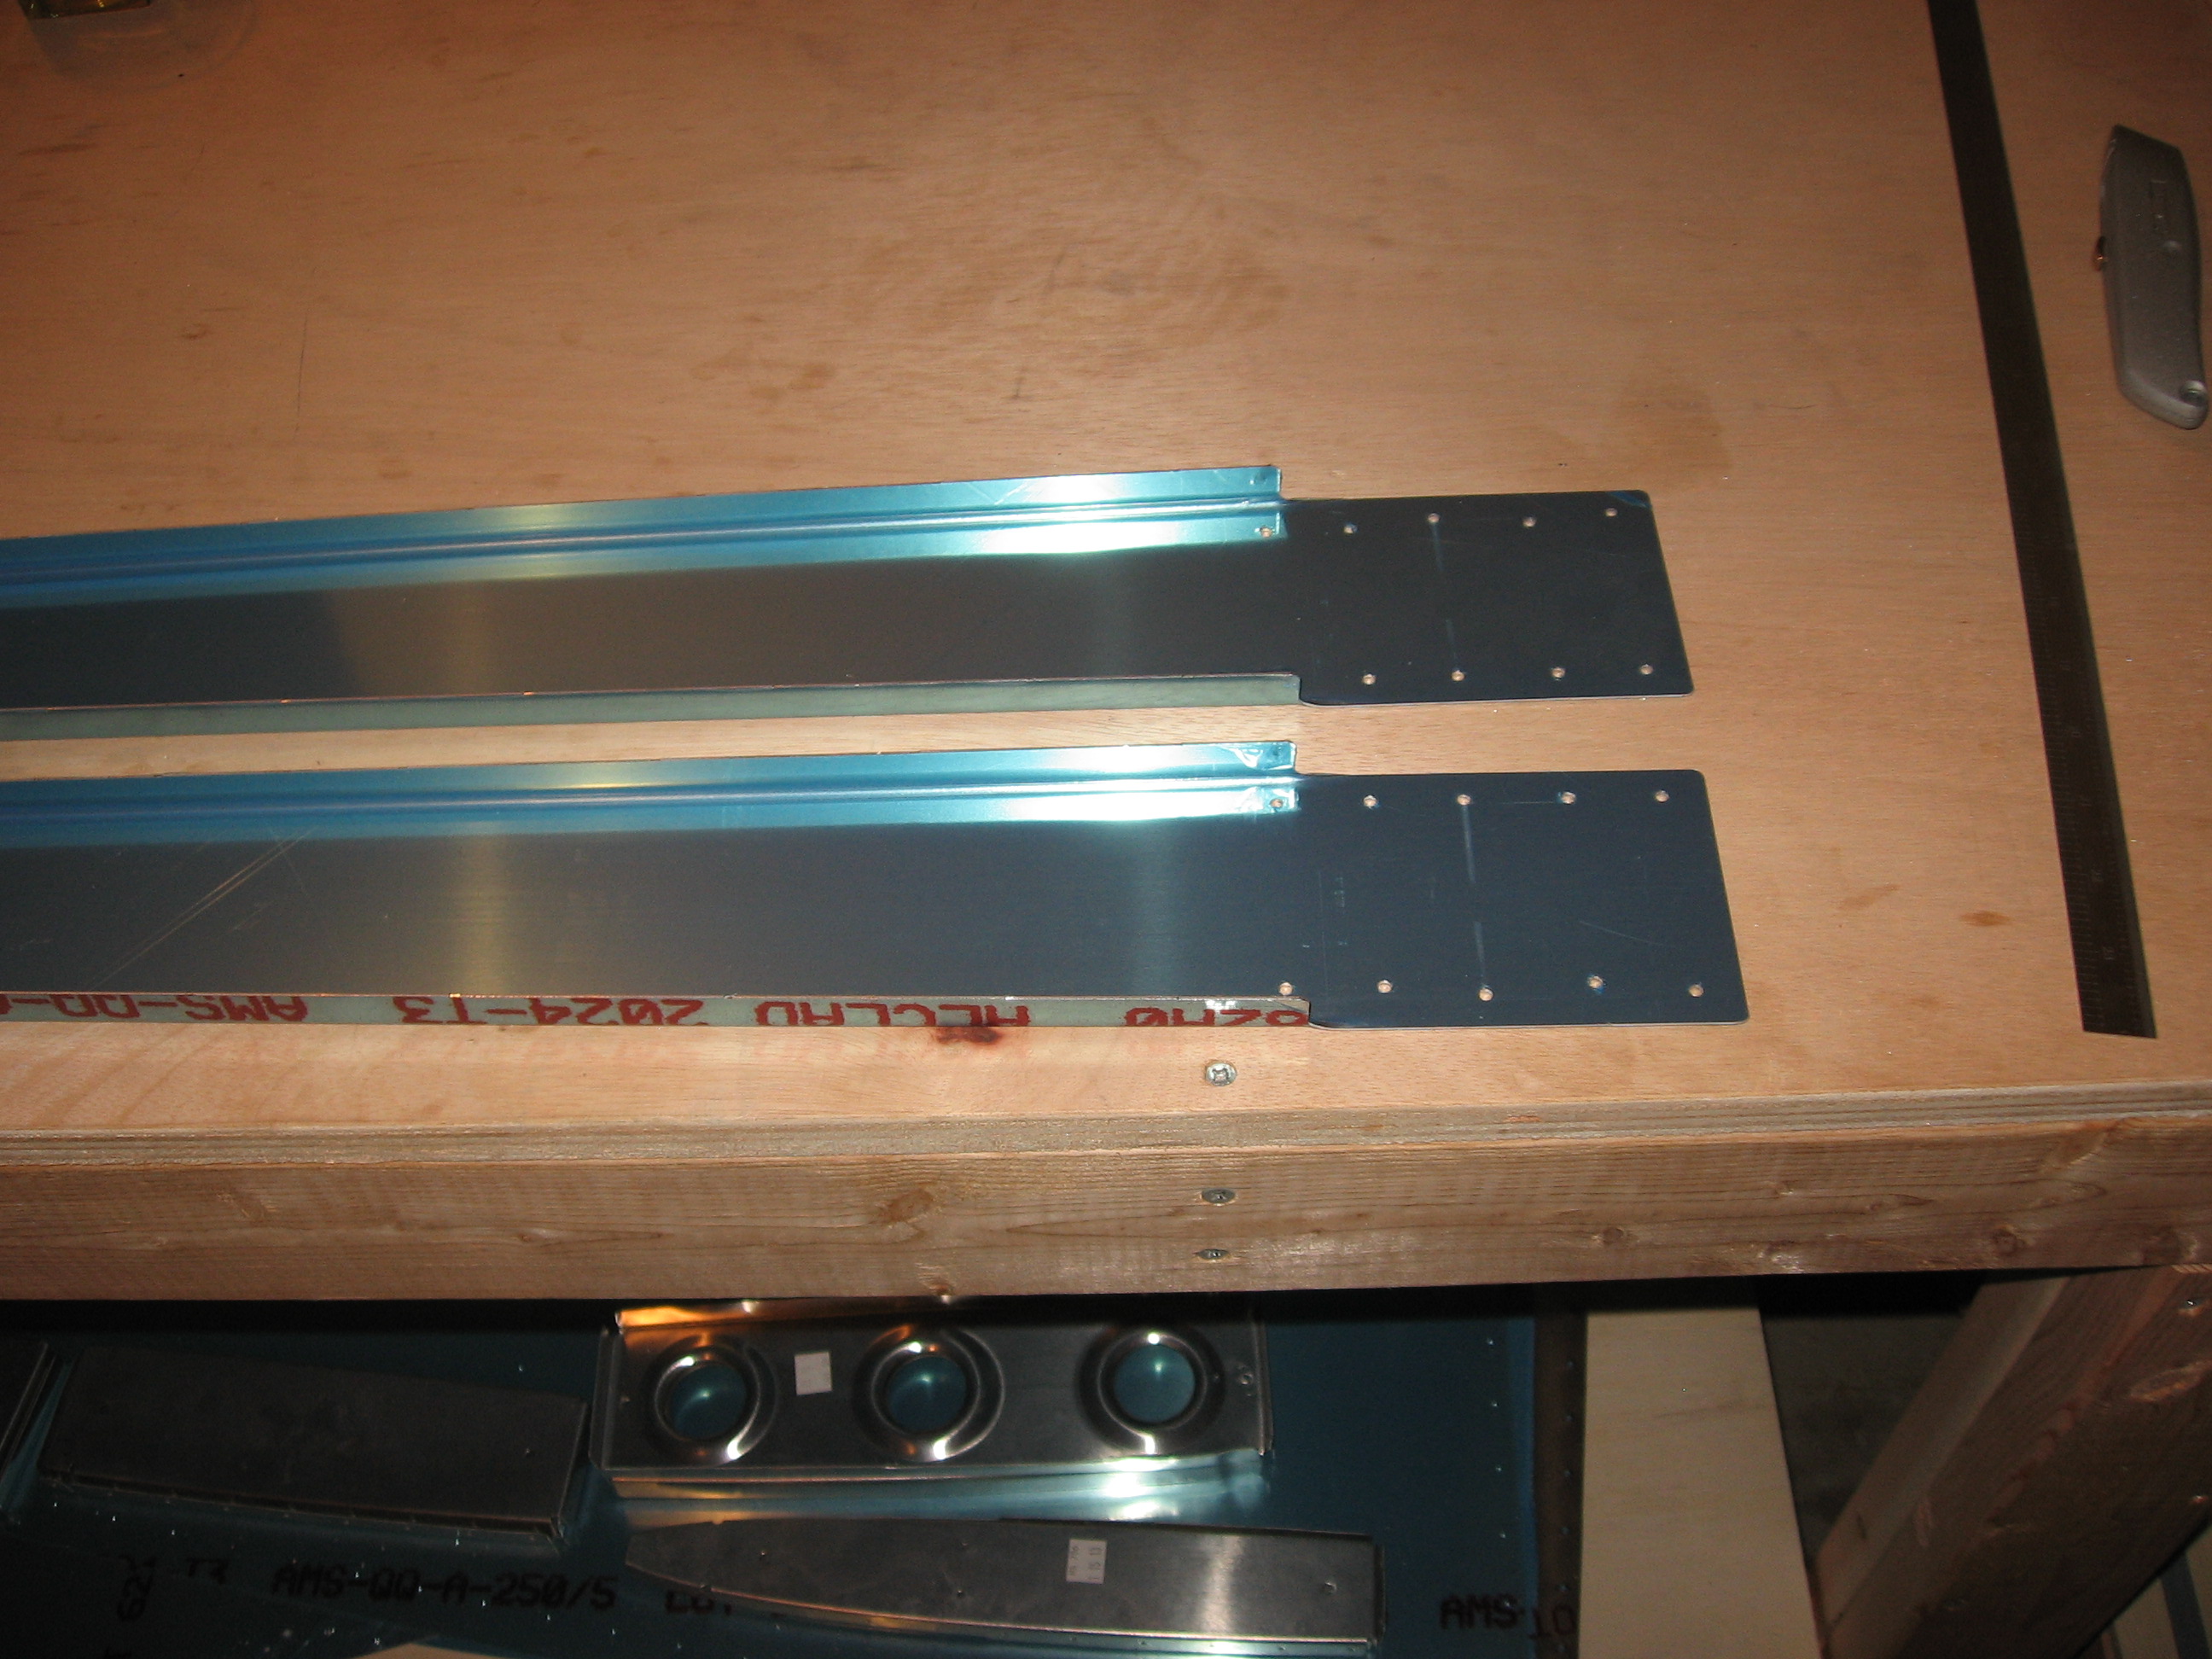
Here they are before trimming:
Notched and bent down:

Trimmed and drilled for bending relief. (The reason you have to drill holes for bending relief is for the very reason I described above regarding the cracks):
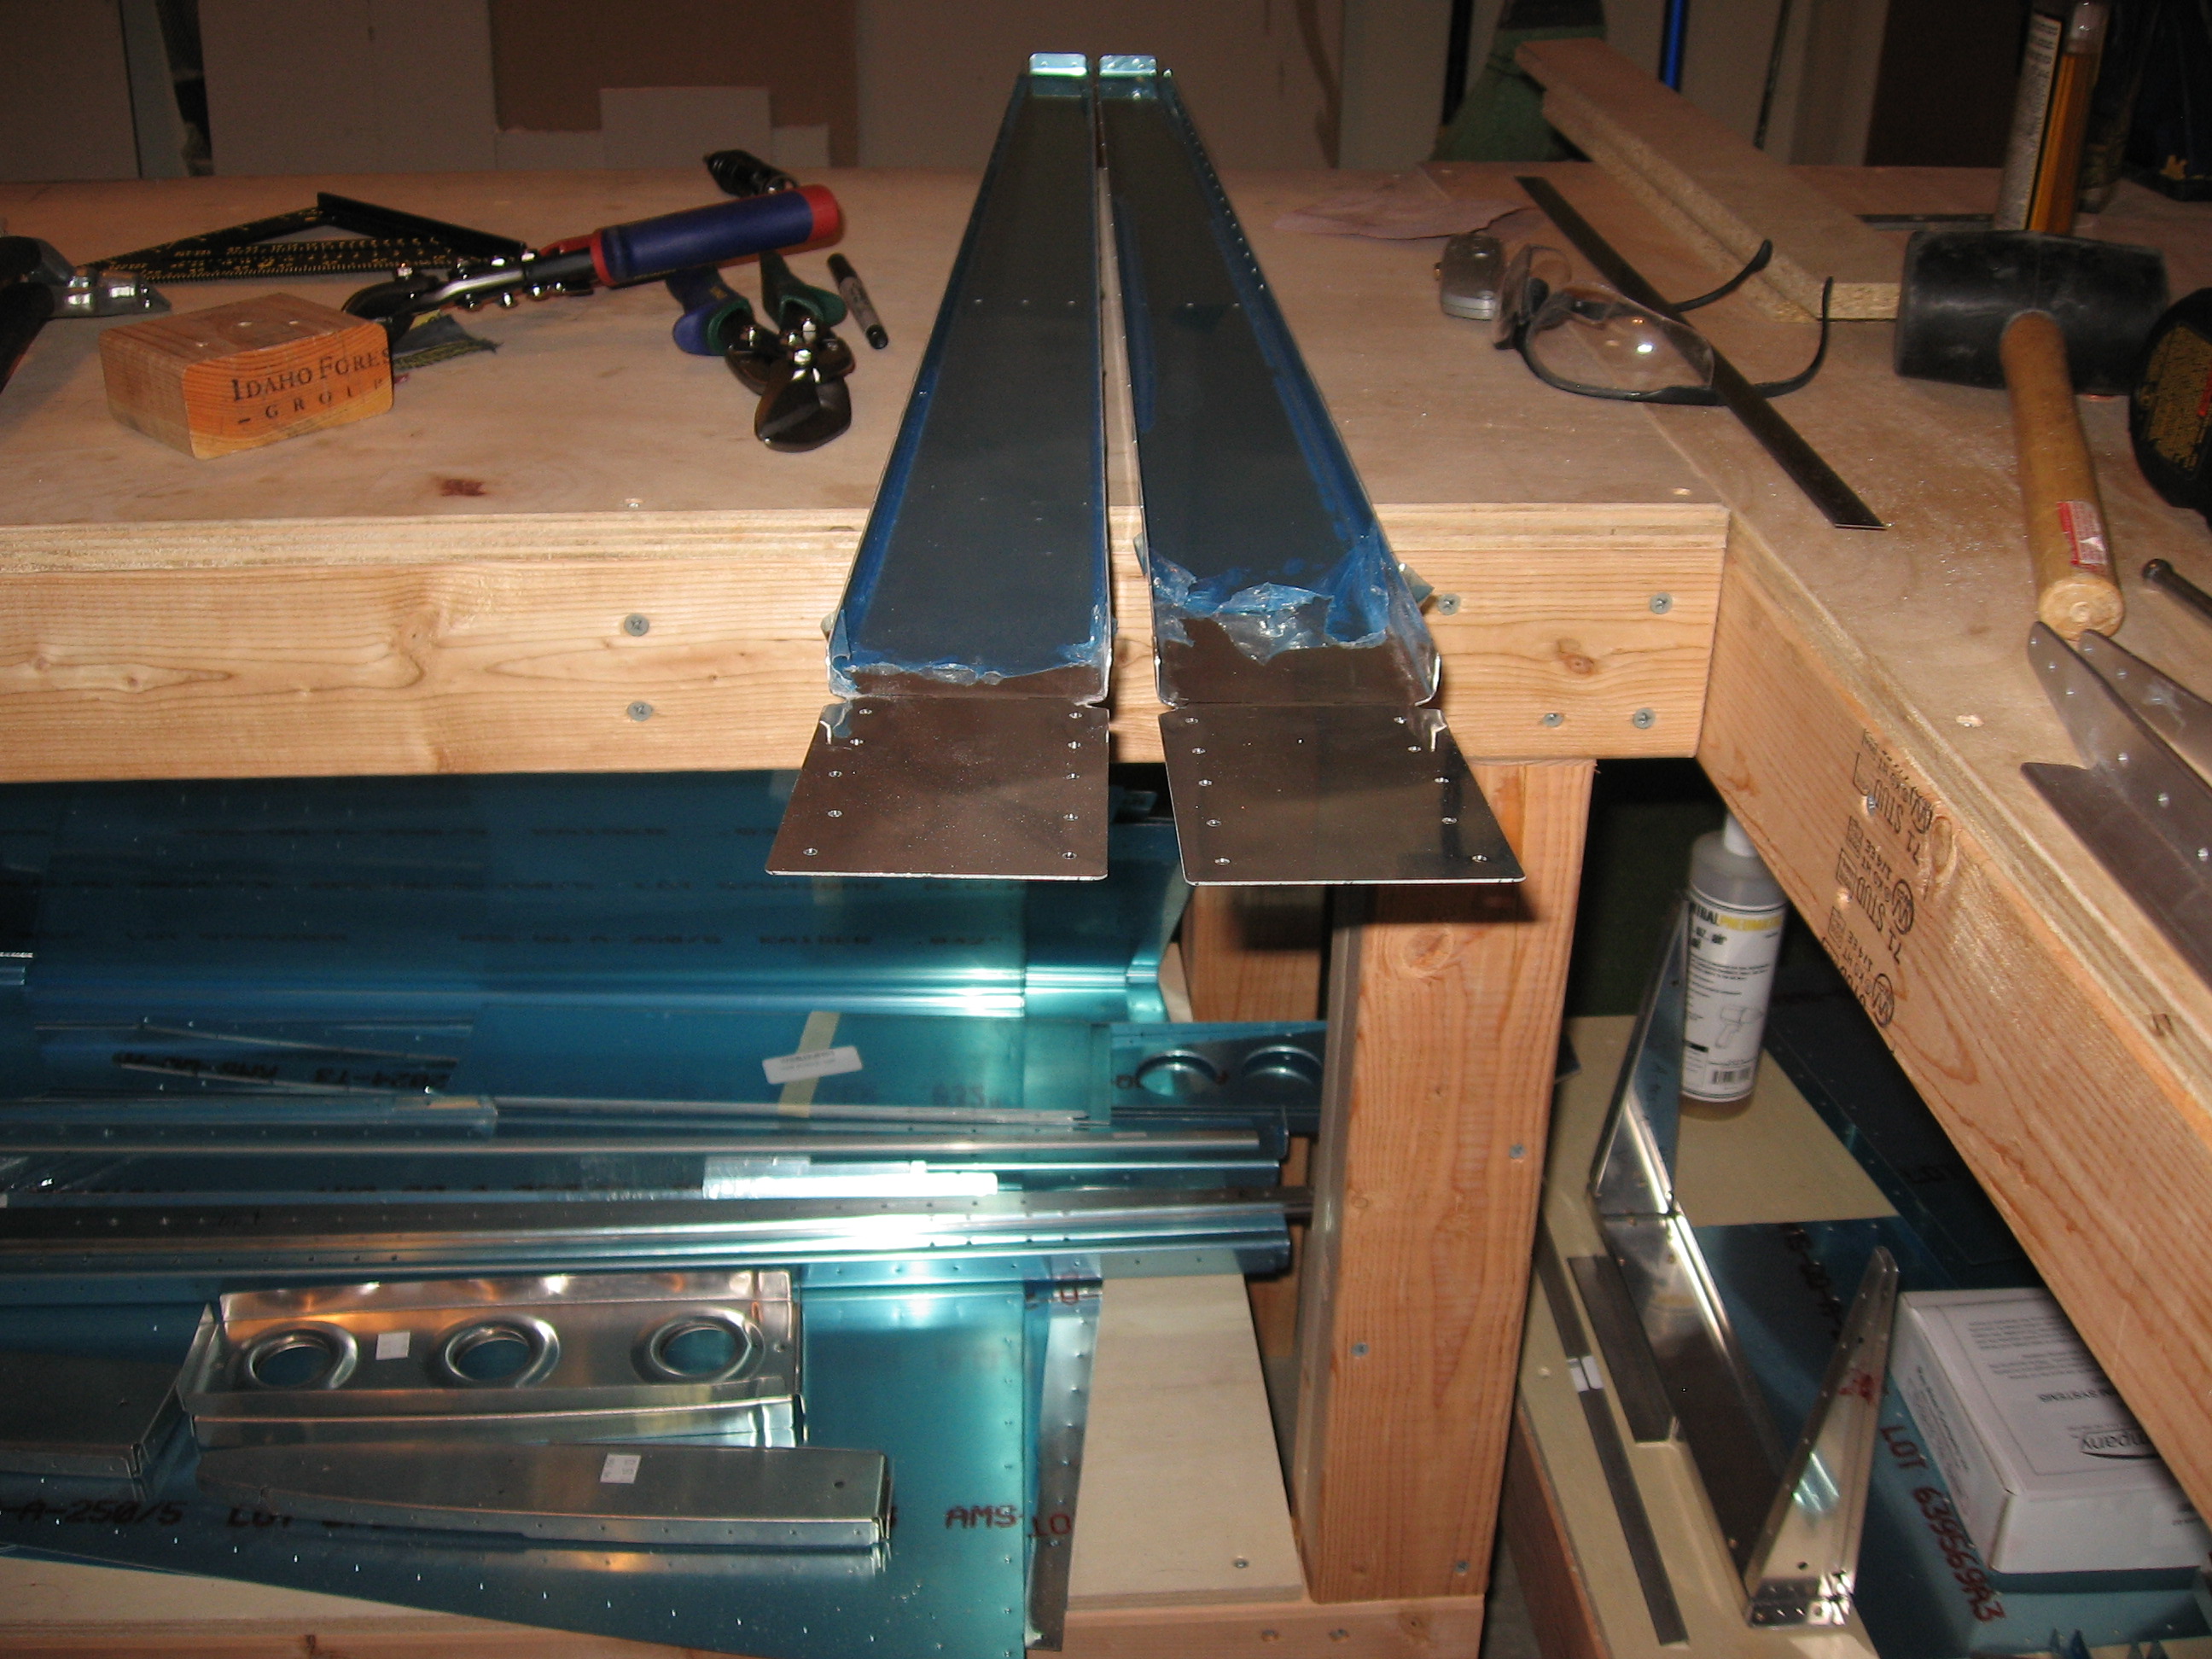
And then the spars were bent:
The 4 inboard holes on the front spar require flush rivets there for the center holes on the angle reinforcement bars needed some countersinkin’. Also the inboard holes on each of the front spar pieces needed to be dimpled:

Front Spar Work is done for now. Onto rib preparation. the first step was to trim the flanges on the inboard nose ribs. The rear flange is attached to the front spar in between the angle reinforcement bars so the rear flange has to be trimmed to fit.

Then it was time for the mind-numbing task of deburring, sanding, polishing, fluting, and straightening the ribs. The ribs are slightly bowed away from the flange side. So we flute the flanges to pull the rib straight. Also, the flanges need to be bent so that they are perpendicular to the web. It’s a lot like doing a slide puzzle. Adjusting one aspect throws the other out of whack. You learn very quickly to make small adjustments and constantly recheck. Each rib took about 15 to 30 minutes to get just right. Sanding and deburring the edges is crucial. When metal is cut…a burr is left on the edge. This burr has much less strength than the aluminum it hangs off of (think how easy it is to rip aluminum foil). Flexing, bending, and vibrations in the metal parts put stress on these parts and cracks are more likely to form on the burred edges. So we get rid of it.
You’ll probably have to click to enlarge it to see it but, here is an example of a fluted finished rib next to an untouched one:
Got a lot done today. Will finish up the ribs tomorrow.
