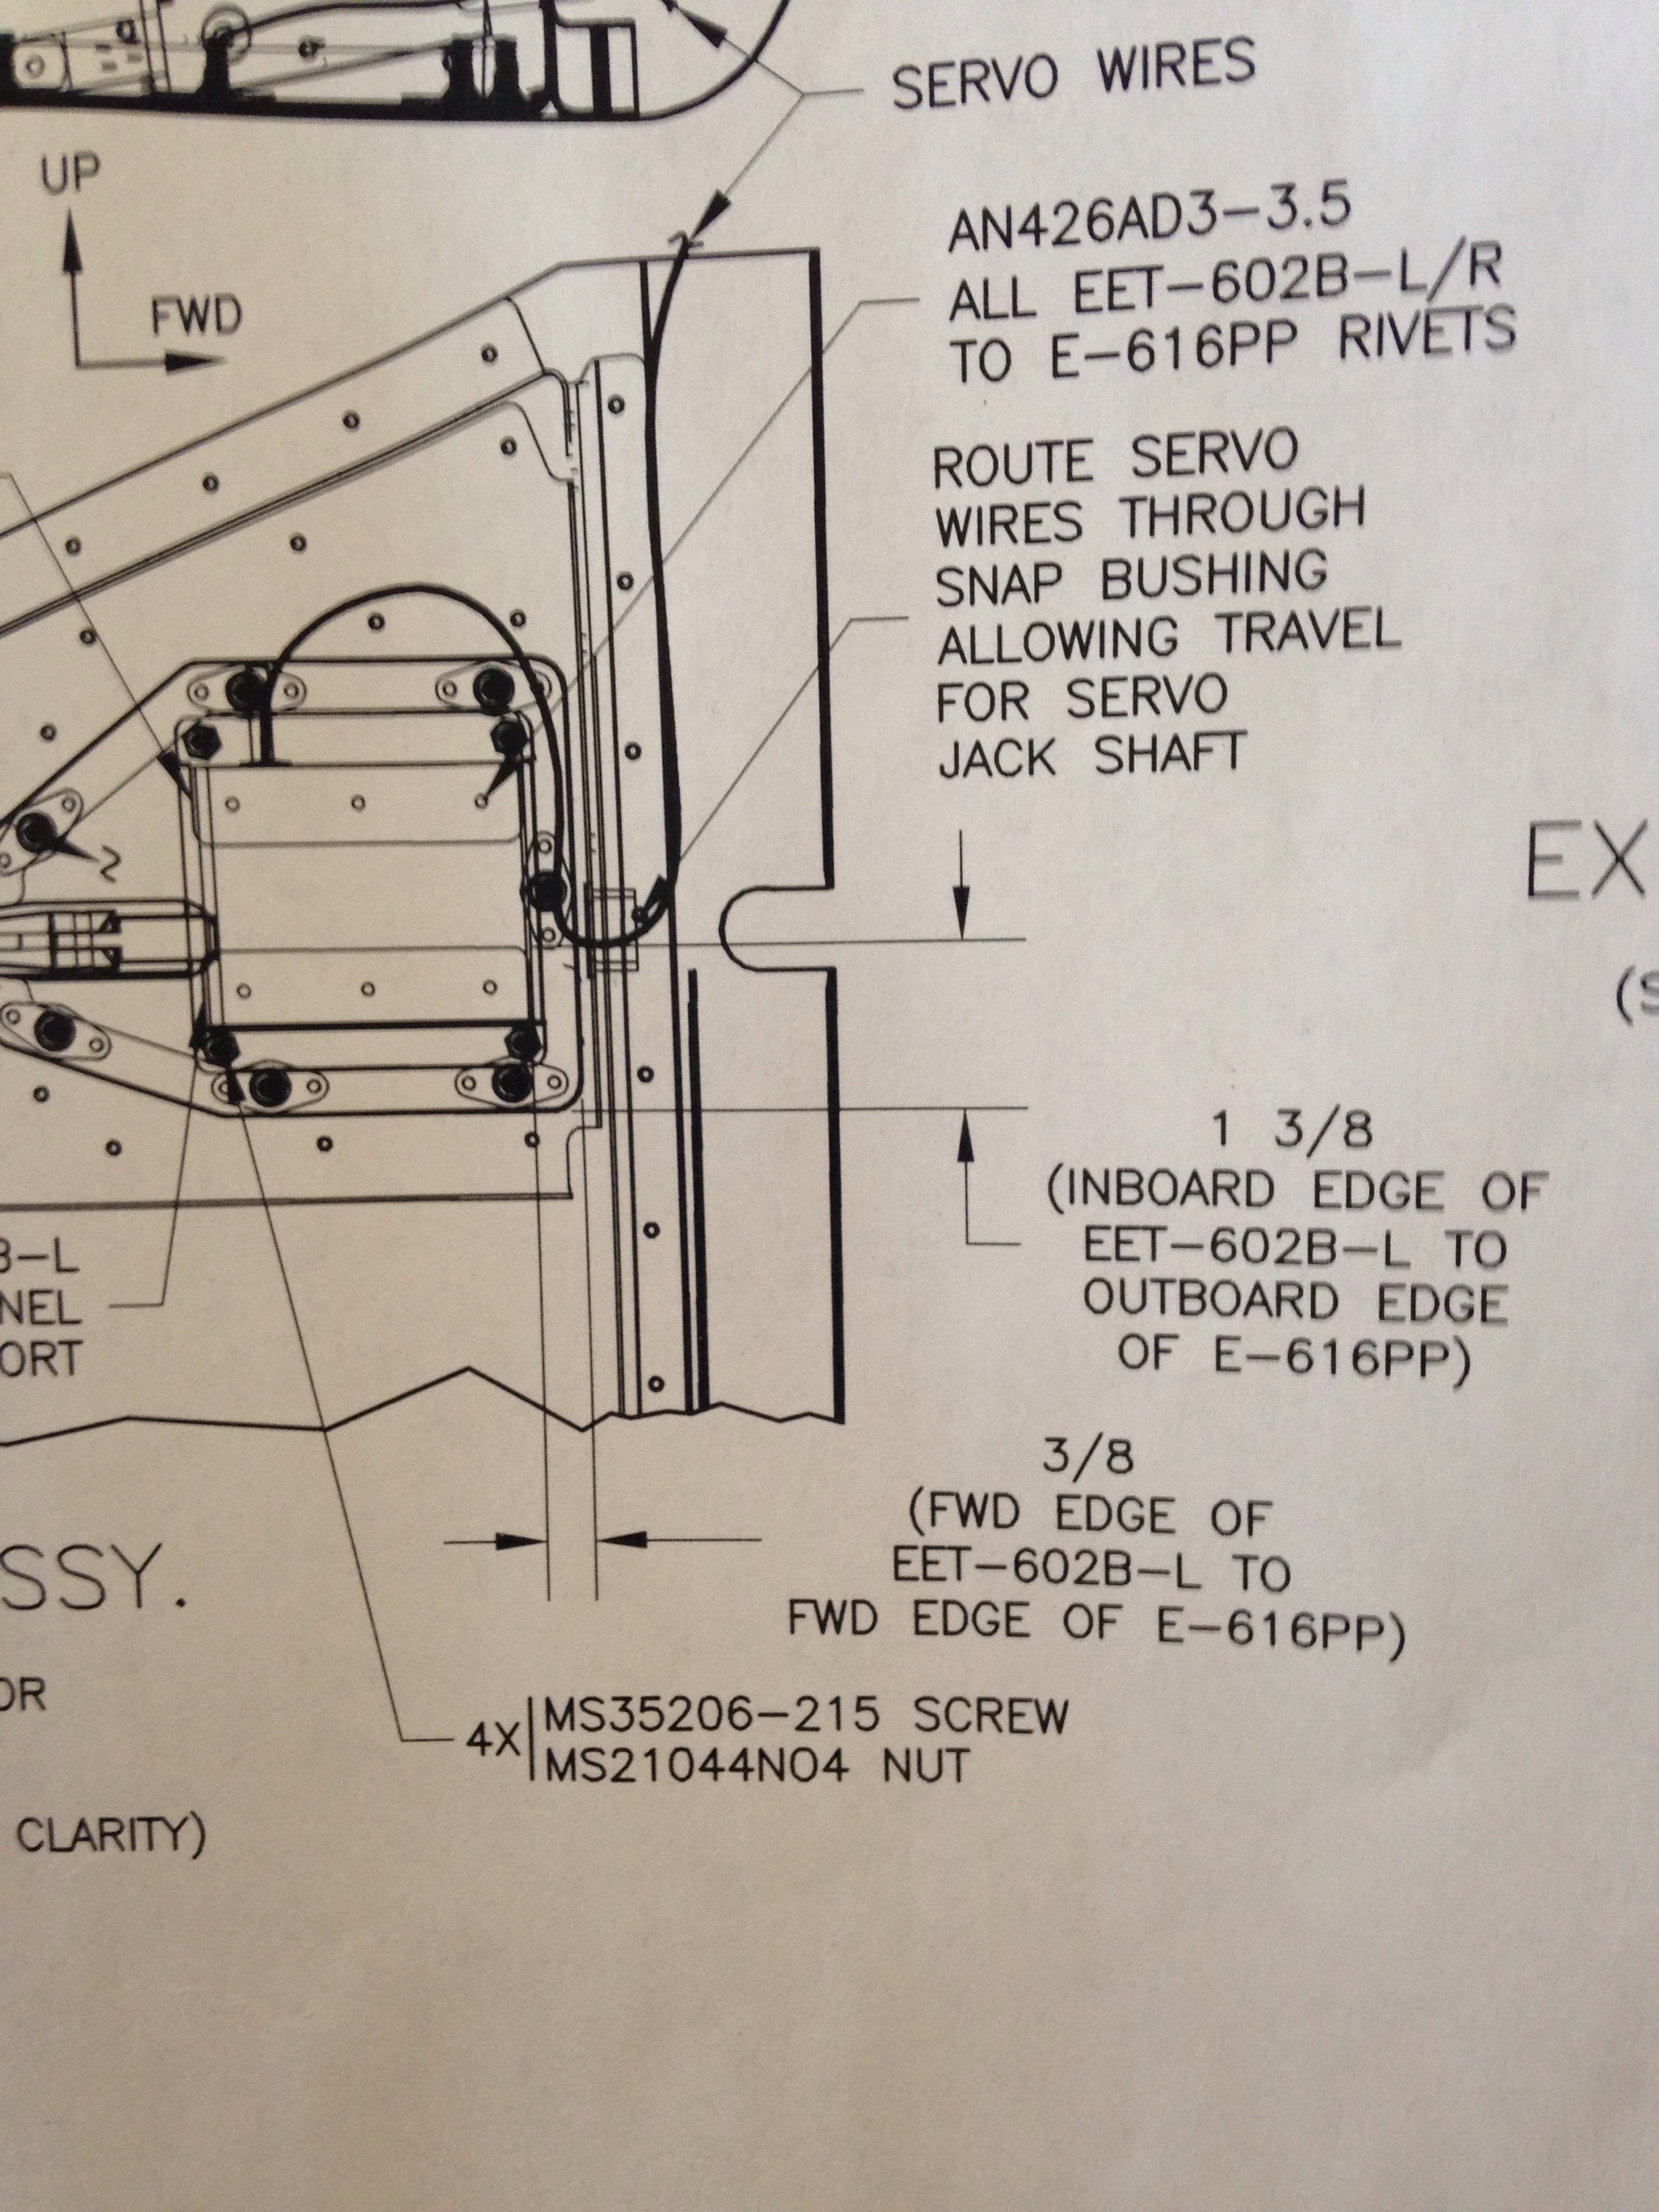
Today was a little frustrating. I decided to try and tackle mounting the electric trim servo brackets to the trim access panel. According to the plans, the inboard edge of the left bracket should line up with 1 3/8″ from the out board edge of the access panel. I found out the hard way that if you follow this dimension, you could be wrong. I got it lined up and drilled the holes, when I clecoed on the servo, I could see a problem immediately. The servo didn’t line up with the hole in the access panel at all. It was off by about 3/16″. I went and read a few other builders blogs and found this is a common problem. Some people follow the dimension and it lines up. I can only guess that the flanges on the brackets are not of a consistent width. On the sites where they did not have a problem using this dimension, the flanges look bigger. I went ahead and just ordered a new part from Van’s. From some of the other builder’s sites, it looks a few have waited til they had the trim tab on before installing the servo so they can make sure the alignment is perfect (between the two connection points).
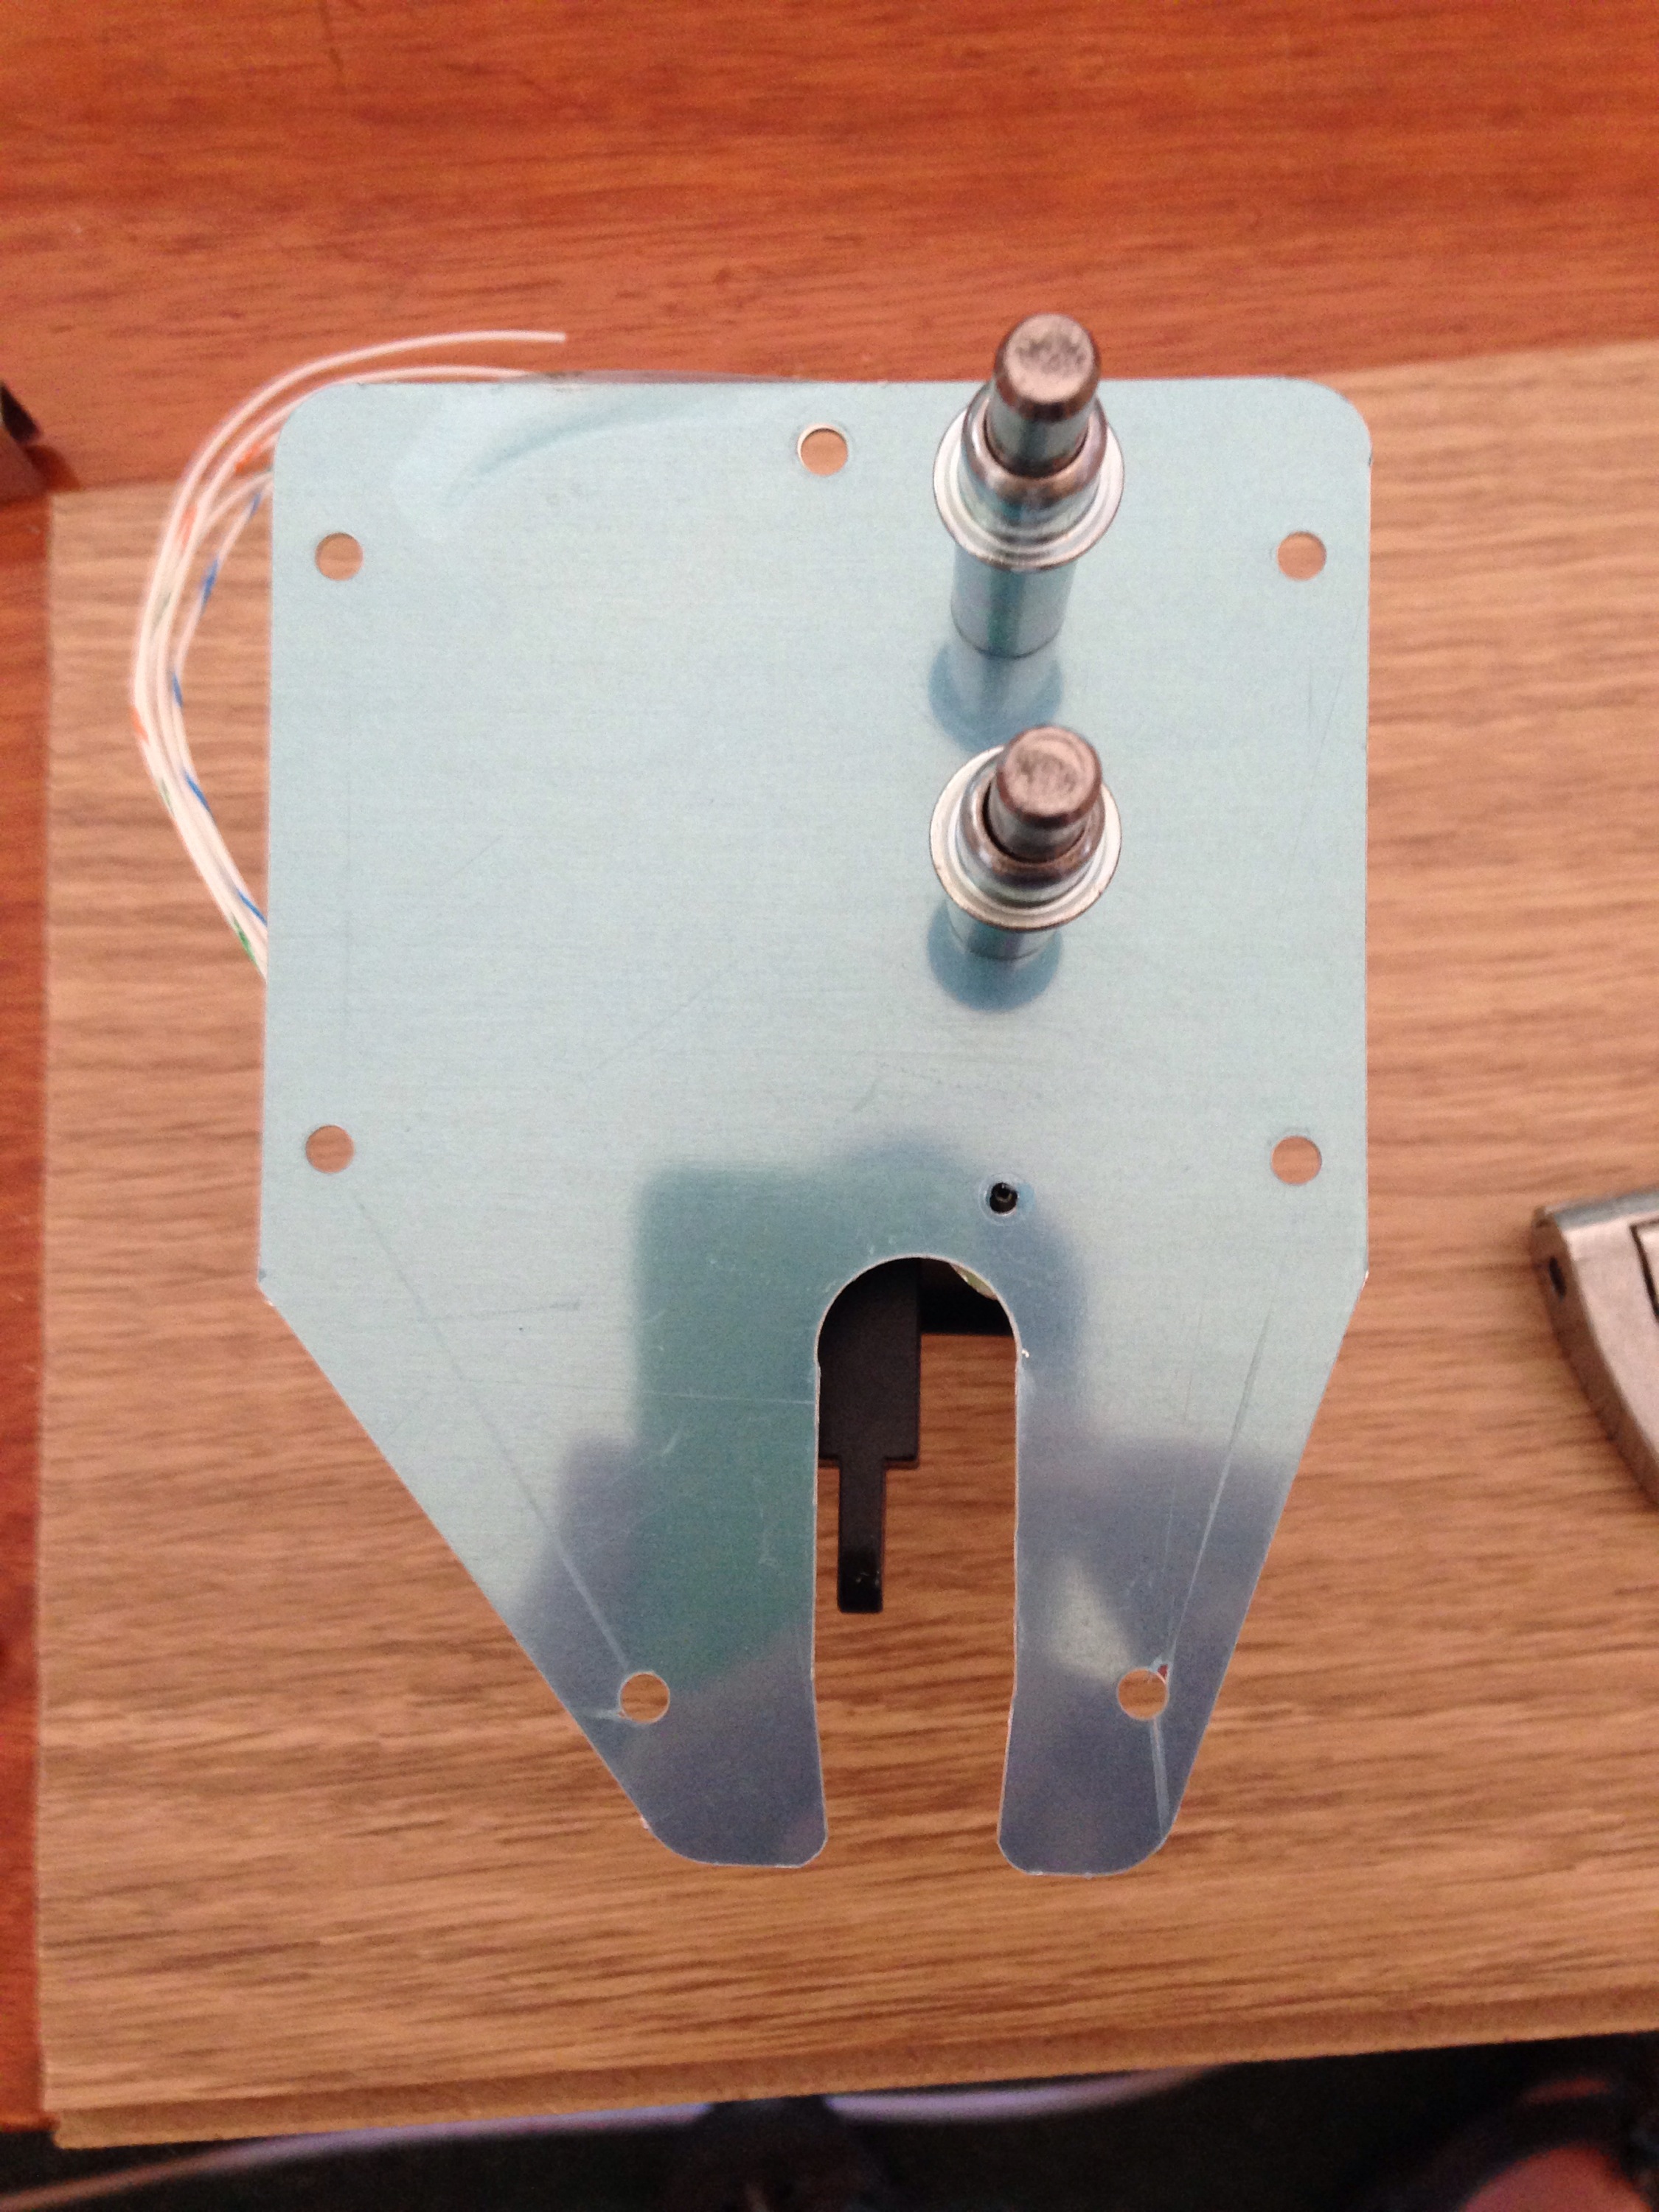
Ready to drill:

And at this point, you can see just how far off the connection is:
Here’s what the plans read:
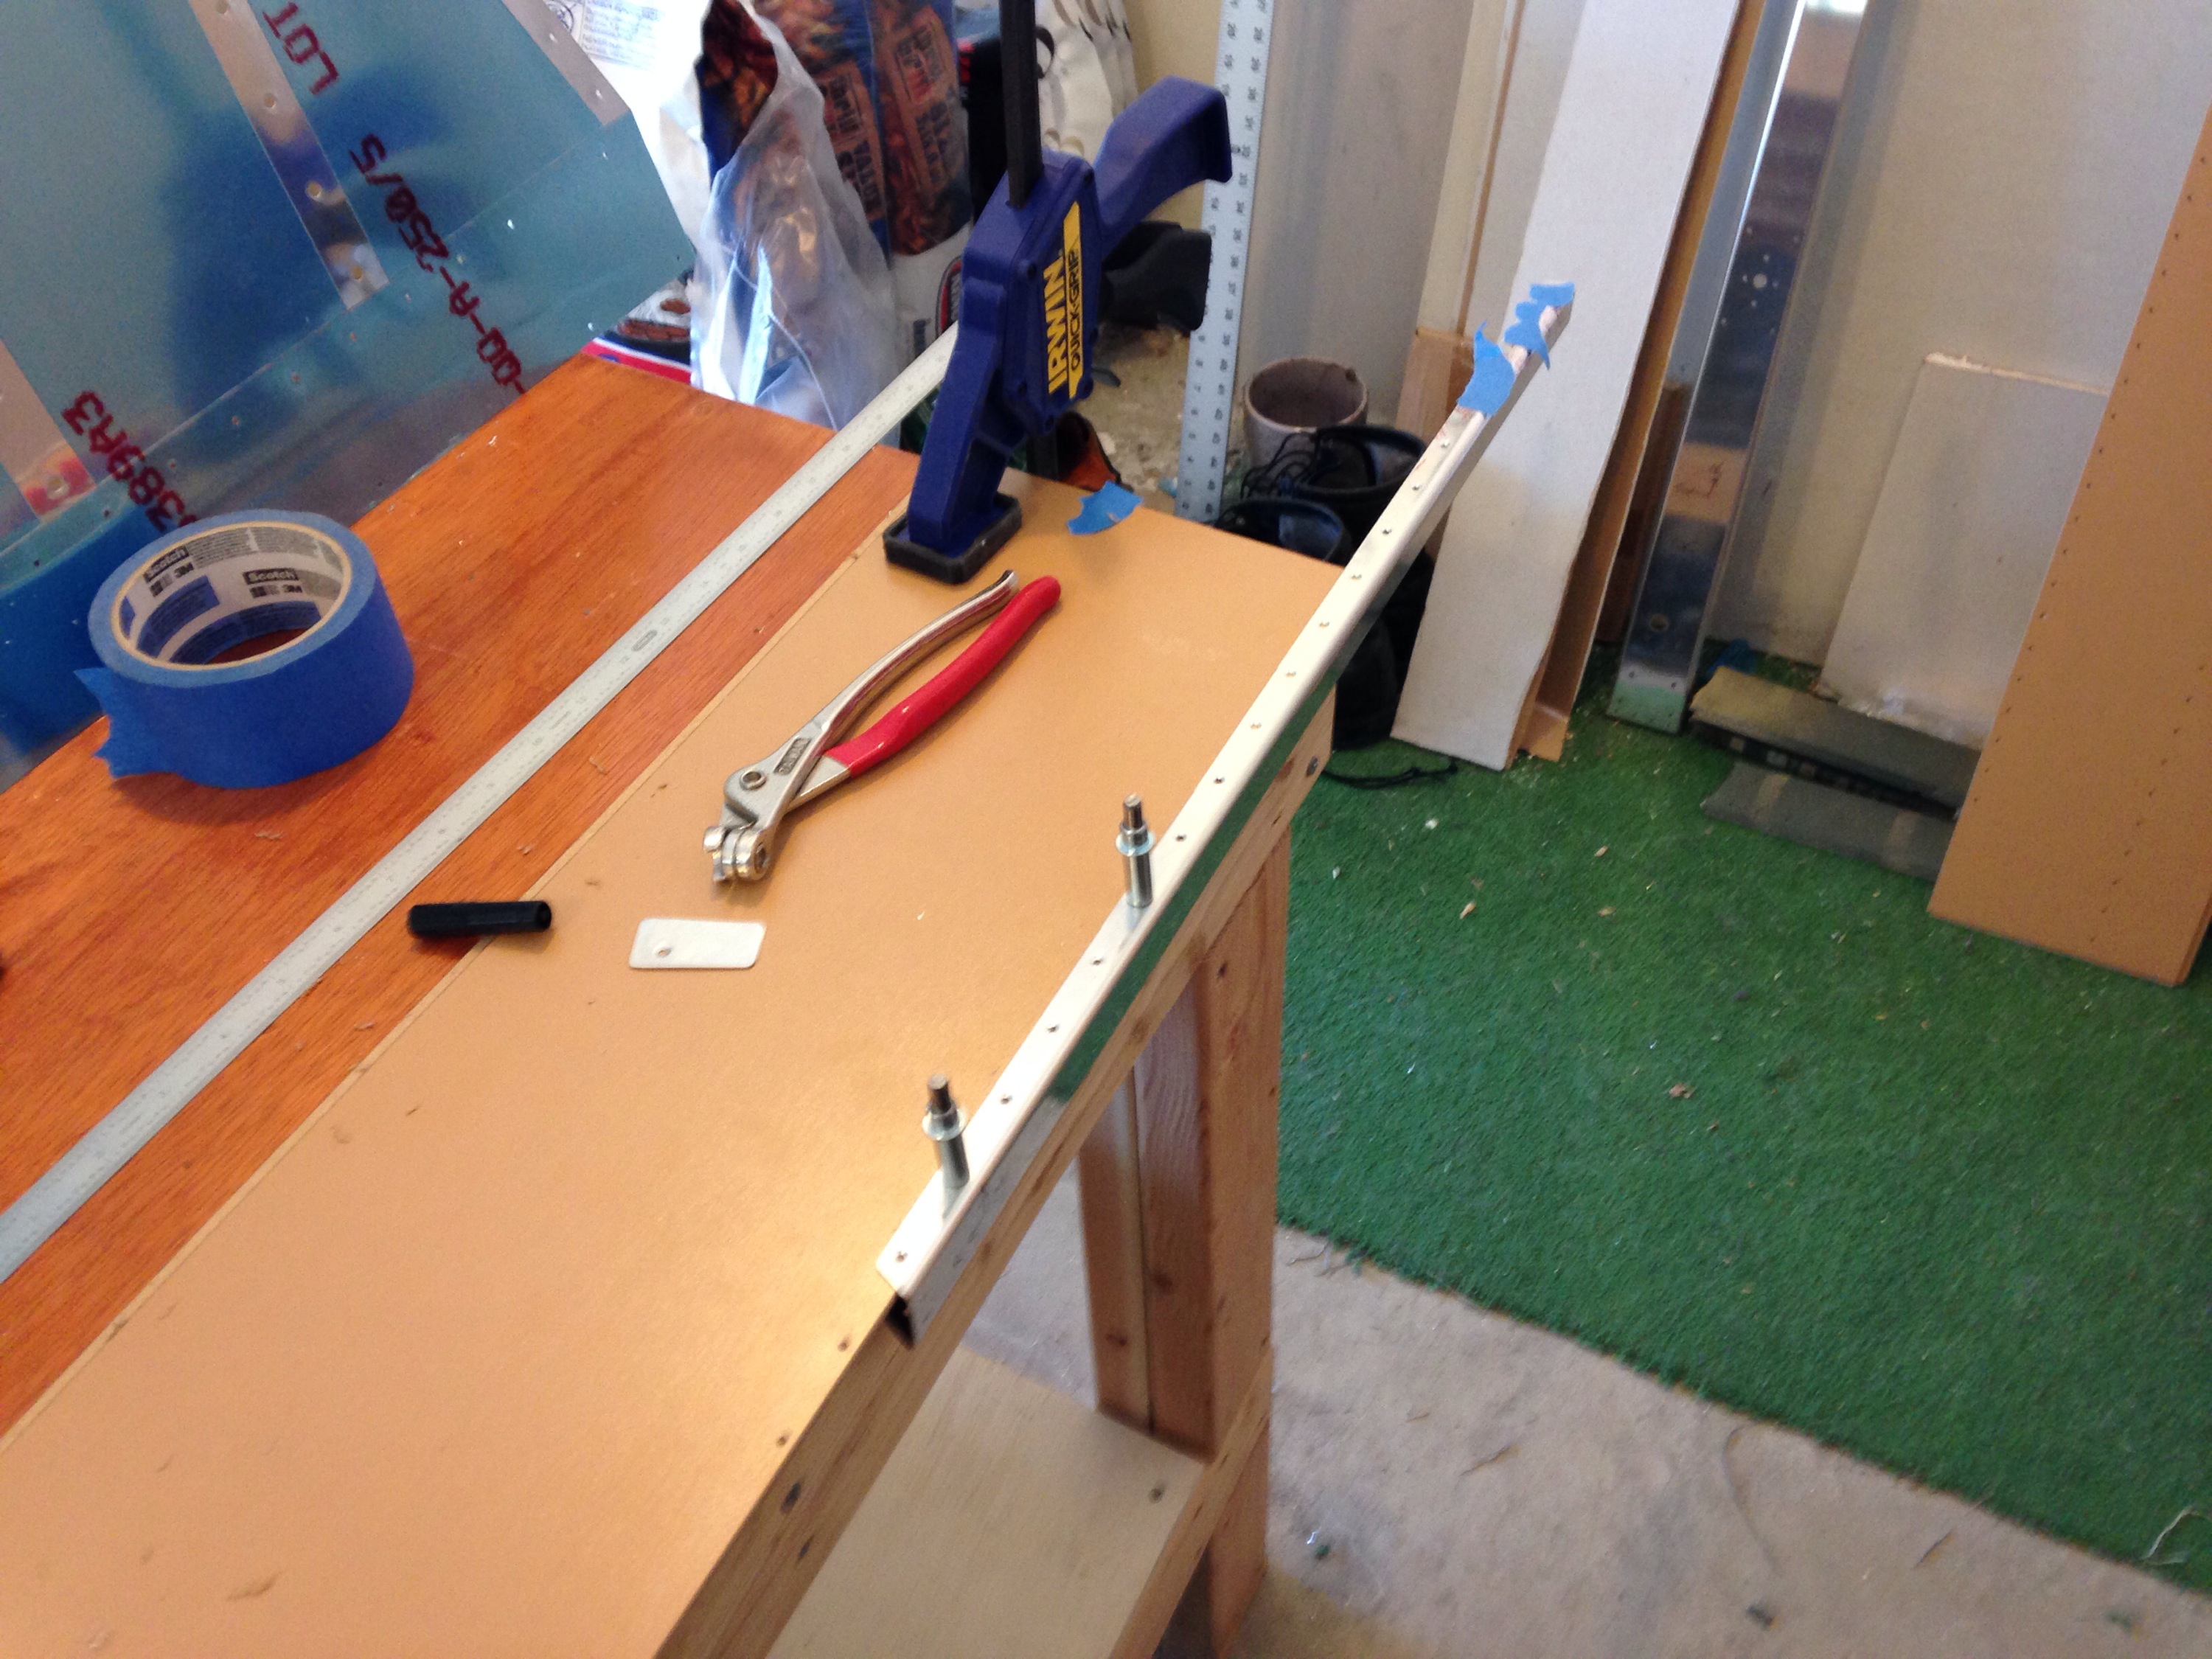
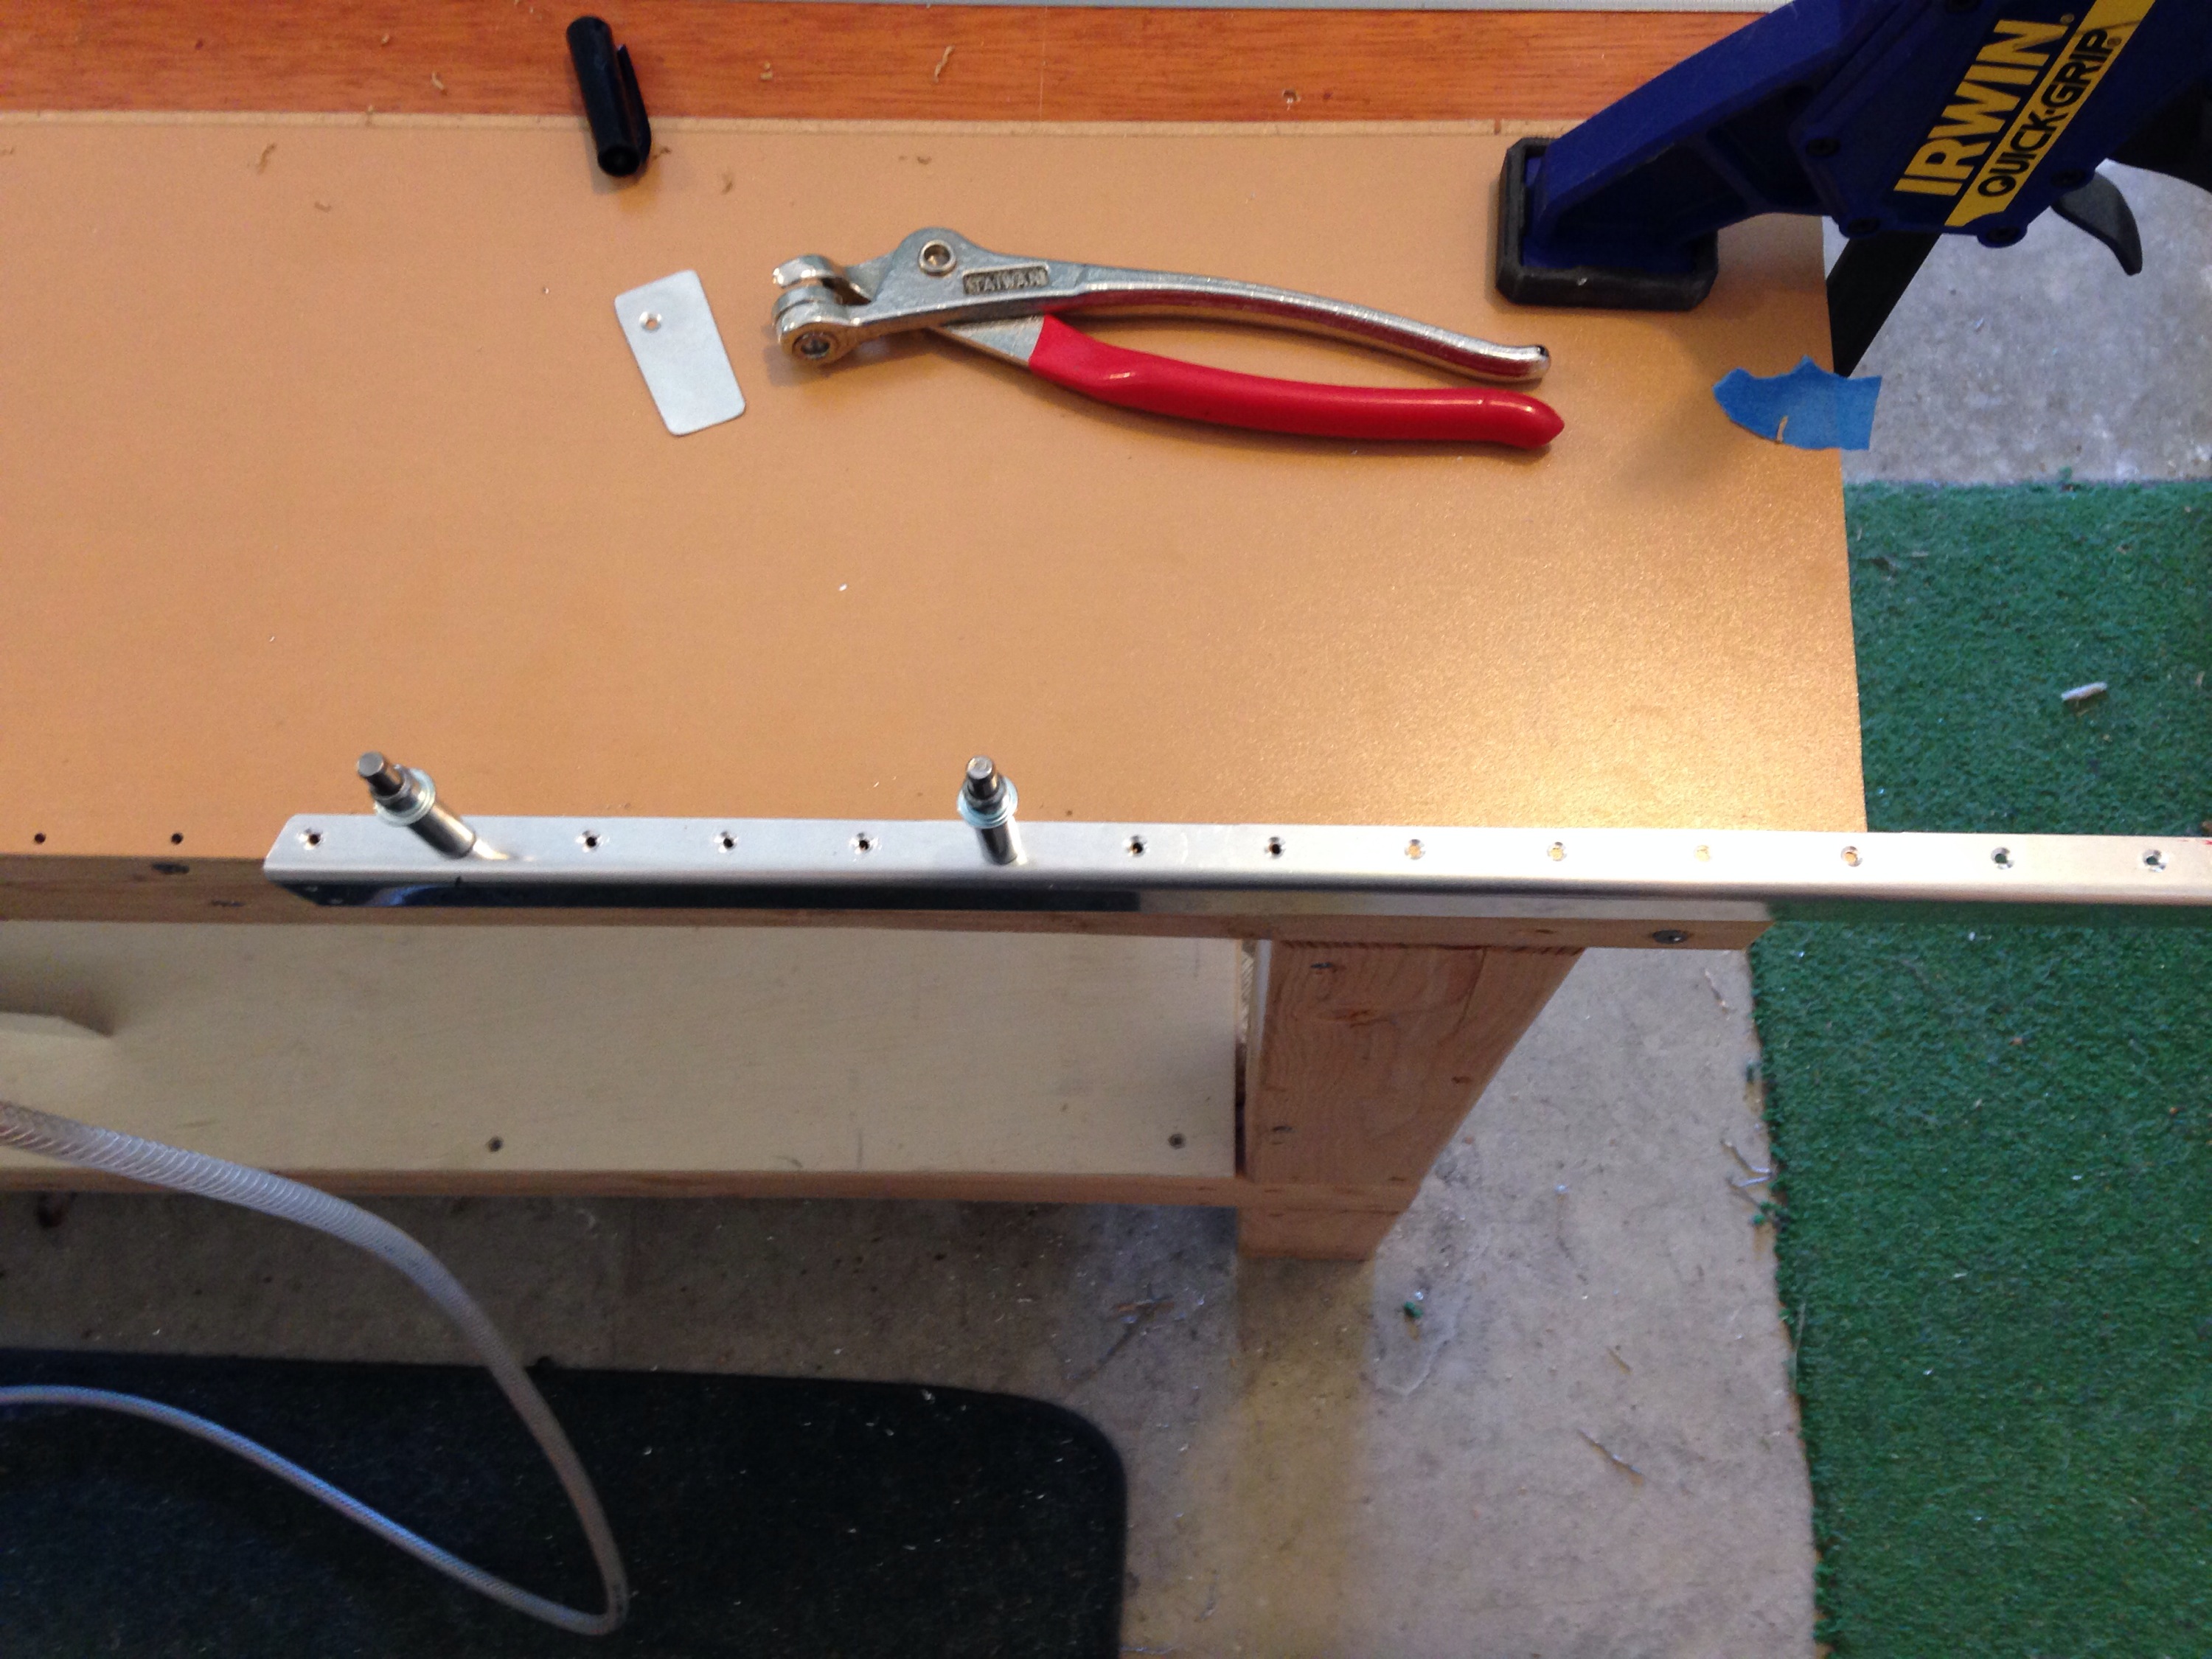
And here’s what I measured:

There’s always plenty of other work to do, so I went ahead and countersunk all the holes that needed it on the internal parts.
Here we have my setup for countersinking the trim spar which goes on the rear of the left elevator only. The trim tab hinge attaches to the top of this spar on the bottom of the top flange and you cannot dimple the hinge, therefore, Van’s has you countersink the holes on the top flange (except the outboard-most 4, which receive blind flush rivets):
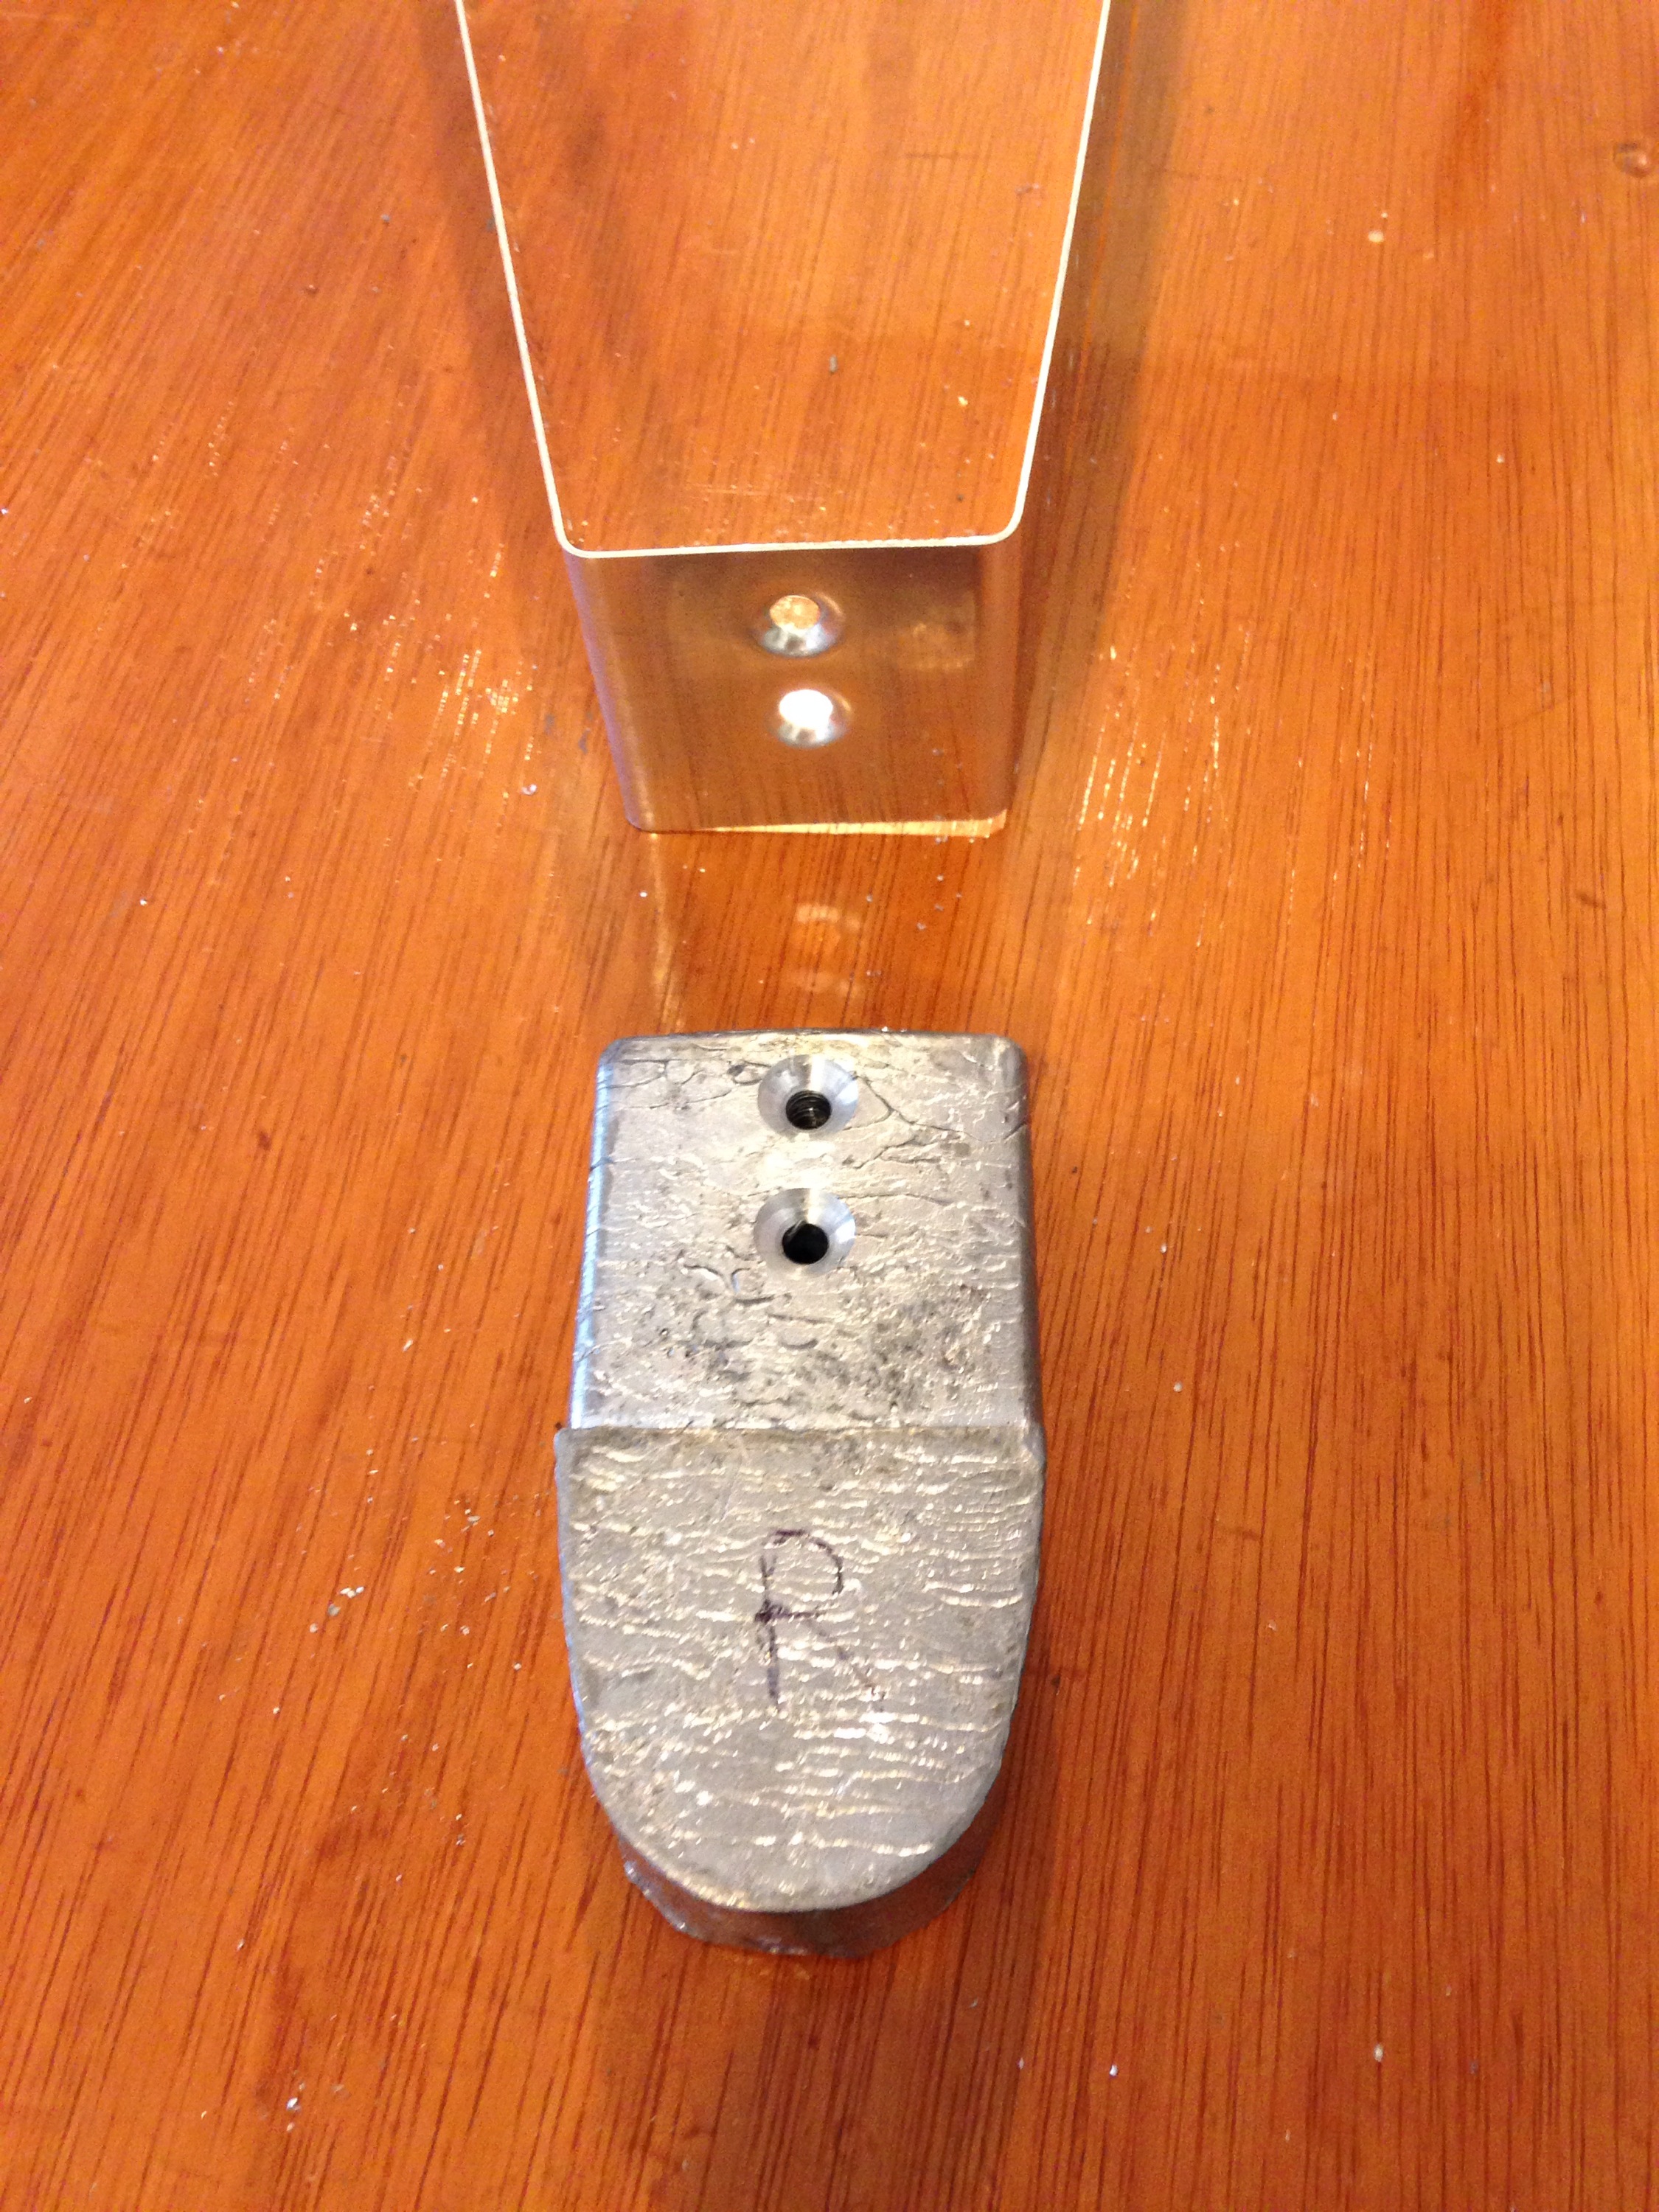
Counterweights countersunk. Counterweight skins dimpled:
Inboard 4 holes on the forward spars are countersunk. The elevator horns cover this. The outer most holes are too close to the flanges to use a countersink cage. A trick I learned from Mike Bullock’s site (www.rvplane.com) was to put the countersink cutter in the deburring tool handle. Worked well enough.

